BEST IPHONE BACKUP EXTRACTOR
1. Run the program
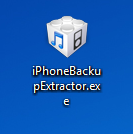
With the iPhone Backup Extractor downloaded and on your desktop, double-click the icon.
2. Click to recover your contacts
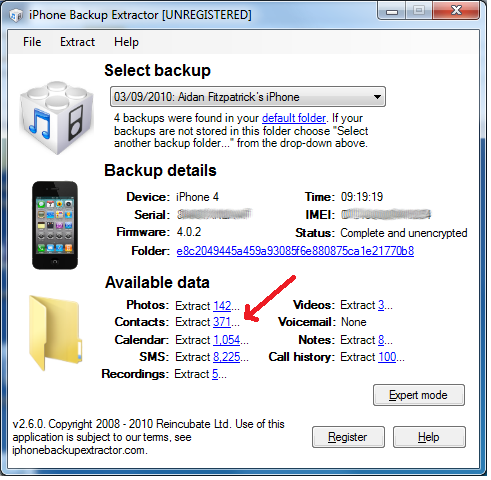
You'll see the main application window as below. See where it says "Contacts: Extract 371"? That's how many contacts we've found in that backup. If you click the "371", it'll prompt you for where you'd like to extract them.
3. Choose where to extract your contacts
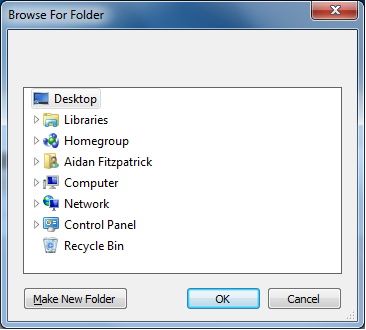
A dialog window like the one below will pop up asking you where you'd like to save the extracted contacts. Perhaps you might want to choose your Desktop folder.
4. Import the file into your contacts program
Once you've extracted your contacts file (it'll be a handy VCard ".vcf" file, although you can use the "Extract" menu in the application to extract to CSV instead) you should open it with whichever program you use to manage your contacts. This might be a web based program, like Gmail or Hotmail, or a desktop application like Outlook, the Windows Address Book, or Mac Mail.

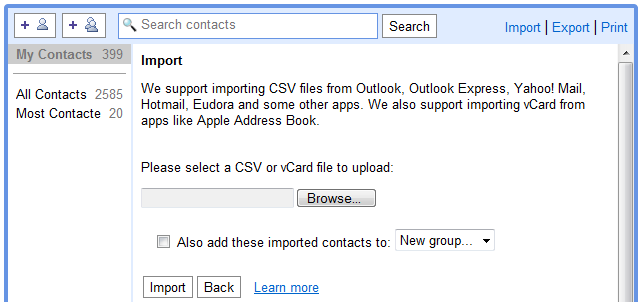
Each program will import contacts in a different way, and how these programs work is beyond our control, but almost all will work with either the VCard or CSV files that the iPhone Backup Extractor produces. The options for Google Mail are shown below.
5. Sync the contacts with your iPhone
Once the contacts have been imported into your contacts management program, you've got a choice on how you get them on your phone. If you tend to sync contacts using iTunes (the simplest option), then you can set that up in iTunes, as in the iTunes 10 screenshot below.
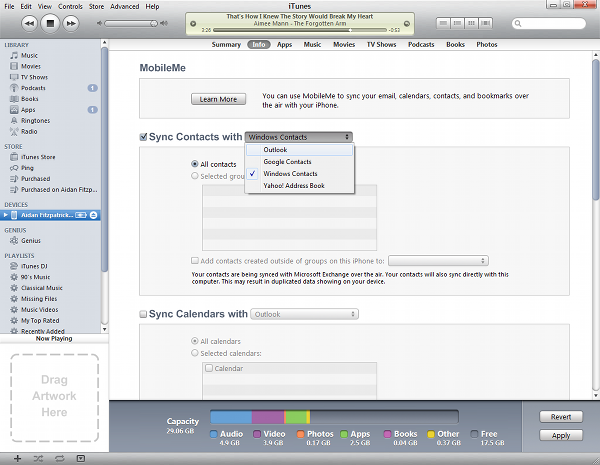
If you use Gmail or MobileMe, you might choose to have your phone sync its contacts wirelessly with those services, and Apple provide some instructions for this.

No comments:
Post a Comment